Tuesday, November 22, 2011

WIP

Sorry Its been a while but  I have been really ill since last week and didn't really do much and didn't feel up to posting. I haven't done anything else on my baby's blanket. However, I had started some knitting projects before I caught this bug.  First and update on my baby sweater. I did get both sleeves finished up to the point I need to put them on the needle.  Now I just have to finish the top of the sweater and then the hood.

Next I had a request for 2 polar bear hats; one for a new born and the other for a 5 month old.  I got most of the 5 month old hat finished. I knitted the hate and the ear flaps.  I now need to knit the ears and sew them on and make the tassels to tie the hat on the head.

On the newborn hat I got the hat knitted to where I now need to decrease and close the hat.  It has a bit longer for me to finish it then the other hat.

Finally I started a pair of fingerless mitts for my sister. They are the same color, same yarn, same everything I did to make my mitts. She loved them and asked for the same size and same color. So  I am hoping to get these finished tomorrow. I have one almost complete except for finishing the thumb and sewing up the seems. The second one I just started.


I am hoping to finish  the mitts, the baby sweater, and start a hoodie baby blanket over the Thanksgiving weekend.  I will finish the polar bear hats over next week.  I don't know when I will get to the baby blanket as I need to do Christmas Cards and put up Christmas decorations starting next week.  It will be until mid week next week that I update you on my status due to visiting with family and friends over the next few days.  I hope you have a wonderful Thanksgiving!!!!!


Monday, November 14, 2011

WIP updates

Well since last post I have cleaned my machine and oiled it, however I haven't sewn anything yet.  I have started working on my crib blanket and it will be ready to start sewing next week.  I did make a few changes since showing you what I was going to work on. I decided the white top fabric was really pretty and I did not want to add any borders. I think its going to look just they way I want it to.  I cut my fabric to 36" x 60 " since most crib mattresses are 28" x 52".  I cut all my letters out and pinned them to my fabric. That is about as far as I got however.  I am pretty pleased.  You will notice in the picture below that I am missing the w and that is because it broke and I have not had time to trace it and cut it just yet.

The yellow letters are a little hard to see in this picture, for that  I apologize.  Once I sew these on and add a few appliques to go with some of the letters I think its going to look great.  Ill update you on this after next weekend.  I will be doing a lot of knitting this week.
     In knitting new, I really haven't done much on my sweater but hope to finish this along with a few other projects this week. Here is what I have done so far. I hope to have more knitting updates for you very soon!!! Please check back in a two or three days!!!

Tuesday, November 8, 2011

Materials and WIP

Well, sadly  I have to admit that I really haven't had a lot of time to knit or sew recently.  I was not able to have time this weekend to clean my sewing machine like I would have liked to.  Instead, I got motivated for another project and headed to Joann's where I bought some fabric.  After much contemplation and searching I could not find a nursery bedding that I like so much I wanted to pay that kind of money. However, I did find a theme and a bedding set that inspired me to go ahead and try to make my own.  The theme is an alphabet theme pictured below. The colors I have chosen are different then what you are seeing.


So far all I have done is bought fabric but I love the colors.  
This is the backing That I have chosen for the bedspread!!!


In knitting news, I have knitted a few rows of the baby sweater  I have started but much. I hope to have more to show you in a few days. I like the off white I have to say!!!

I hope to have a lot more to share with you in a few days!!!

Wednesday, November 2, 2011

Completed Knitting and Sewing projects and WIP

I apologize for not updating this recently. I was making a huge knitting and sewing gift project and didn't want the person I was making it for see it.  I have finally been both knitting and sewing, more knitting of course. I hope to continue sewing more projects in the future.   Well to begin my project I knitted a bunch of newborn projects. I knitted an earflap hat, a pair of mitts, a pair of socks, and a hoodie sweater.  I am pretty happy with the results of all 4 projects. 


In my last post I showed you how to make burp clothes and posted those pictures. Those burp clothes were part of this project.  I have included them in this post once again in case you missed that one.  Since the burp clothes I have also sewed some bibs for the gift. I am pretty excited about how both of these projects turned out. I would like to sew 12 bibs and 20 burp clothes for my baby.


Below is a picture of all 6 projects that I made for the gift. I am really happy with the gift set I created and hope to make many more and many different gift sets!

In addition to working on this gift set I have knitted 2 other projects. I have one friend who had a baby boy 2 months ago (named Asher) that I made a bear hat and bear mitts for.


I also had a request from one of my friends to make a kitty hat.  I was really excited for this request and threw in a pair of kitty paw mitts as well.

Finally, I am currently working on a baby sweater for my little baby that is coming in a few months. Its the same hoodie I made in the gift set but in different colors. I chose cream, light green, and dark brown.. I chose these colors since we do not know the sex of the baby.
I have only had 1.5 hours to work on the sweater so far.  I may not have time to continue this week but hope to and to finish it soon.  I would like to do an update post on my quilt and how to do the next step, since I haven't touched it in almost a year now.  I do have to dust my sewing machine before I can do anything else, as my husband stored my machine in the basement with no cover. It is now filthy with dust and should not be used anymore until its clean. So hopefully  I can take some time to clean it really well and move forward. I hope to have some updates for you by the end of this week.  I will post more now that this project is over.  Thanks for being patient.

Thursday, October 27, 2011

Will have updates next week!

Sorry I am behind. I have been working on a project that I can not post until the gift has made it (via mail) to the person we sent it to.  I will have an updated post on many finished projects and WIP.  Sorry for falling behind once again!! I promise after this small break I will keep up!! I have many many projects to complete!!

Sunday, October 16, 2011

Sewing: How to make burp clothes

Well I finally pulled out and dusted off my sewing machine.   I wanted to make burp clothes as a gift and to experiment.  I plan on making some for my little one.  Well first, I have to say  I bought my fabric, birdseye 27" wide diaper cloth white, at full price from Joanns.  After paying this price and looking at gerber's birdseye diaper cloth, I learned its cost more to buy the fabric. The only way its cheaper or comparable  is if you get the fabric for 50% off or you can buy it online for pretty cheap. So my first suggestion is to do some research and find your fabric for $3.00 or less a yard.  You can find it for this cheap check out fabric.com.  So for this project you will need:
1. Diaper clothe white fabric ( 1 yard makes 2 burp clothes)
2. 1/4 of a yard of flannel fabric (or your choice of fabric ) for the center per burp cloth.  So I got 3 different colors in 1/4 yard each.
3. 1/4 " wide ribbon. I got 3 different ribbons per burp cloth
4. pinking shears
5. straight pins
6. white yarn
7. fabric pencils


The first step is to wash, dry, and Iron all your fabrics.  Once you have your fabrics washed you want to cut 3 squares per burp cloth. a yard is 36" so you should get 3 12" wide burp clothes. I cut mine 12x16.  Clean up edges and make sure they are the same size.
 

Once they are cut and even, place each one on top of the other and pin all three together.

 Once you have it pinned now its time to use the sewing machine.  Sew 1/4 " around the edge of all four corners of the burp cloth like so!
 
Now that you have your border finished, you want to make 2 seams in the middle like the diaper clothes you buy in the store. To do this, you measure the whole width of the burp cloth and divide it by 3.   You want to take your ruler and mark your fabric, with your fabric pencil, on the 1/3 mark, and the 2/3 mark. Now you have 3 even sections on your fabric.  Once you have them marked draw your two lines.
 
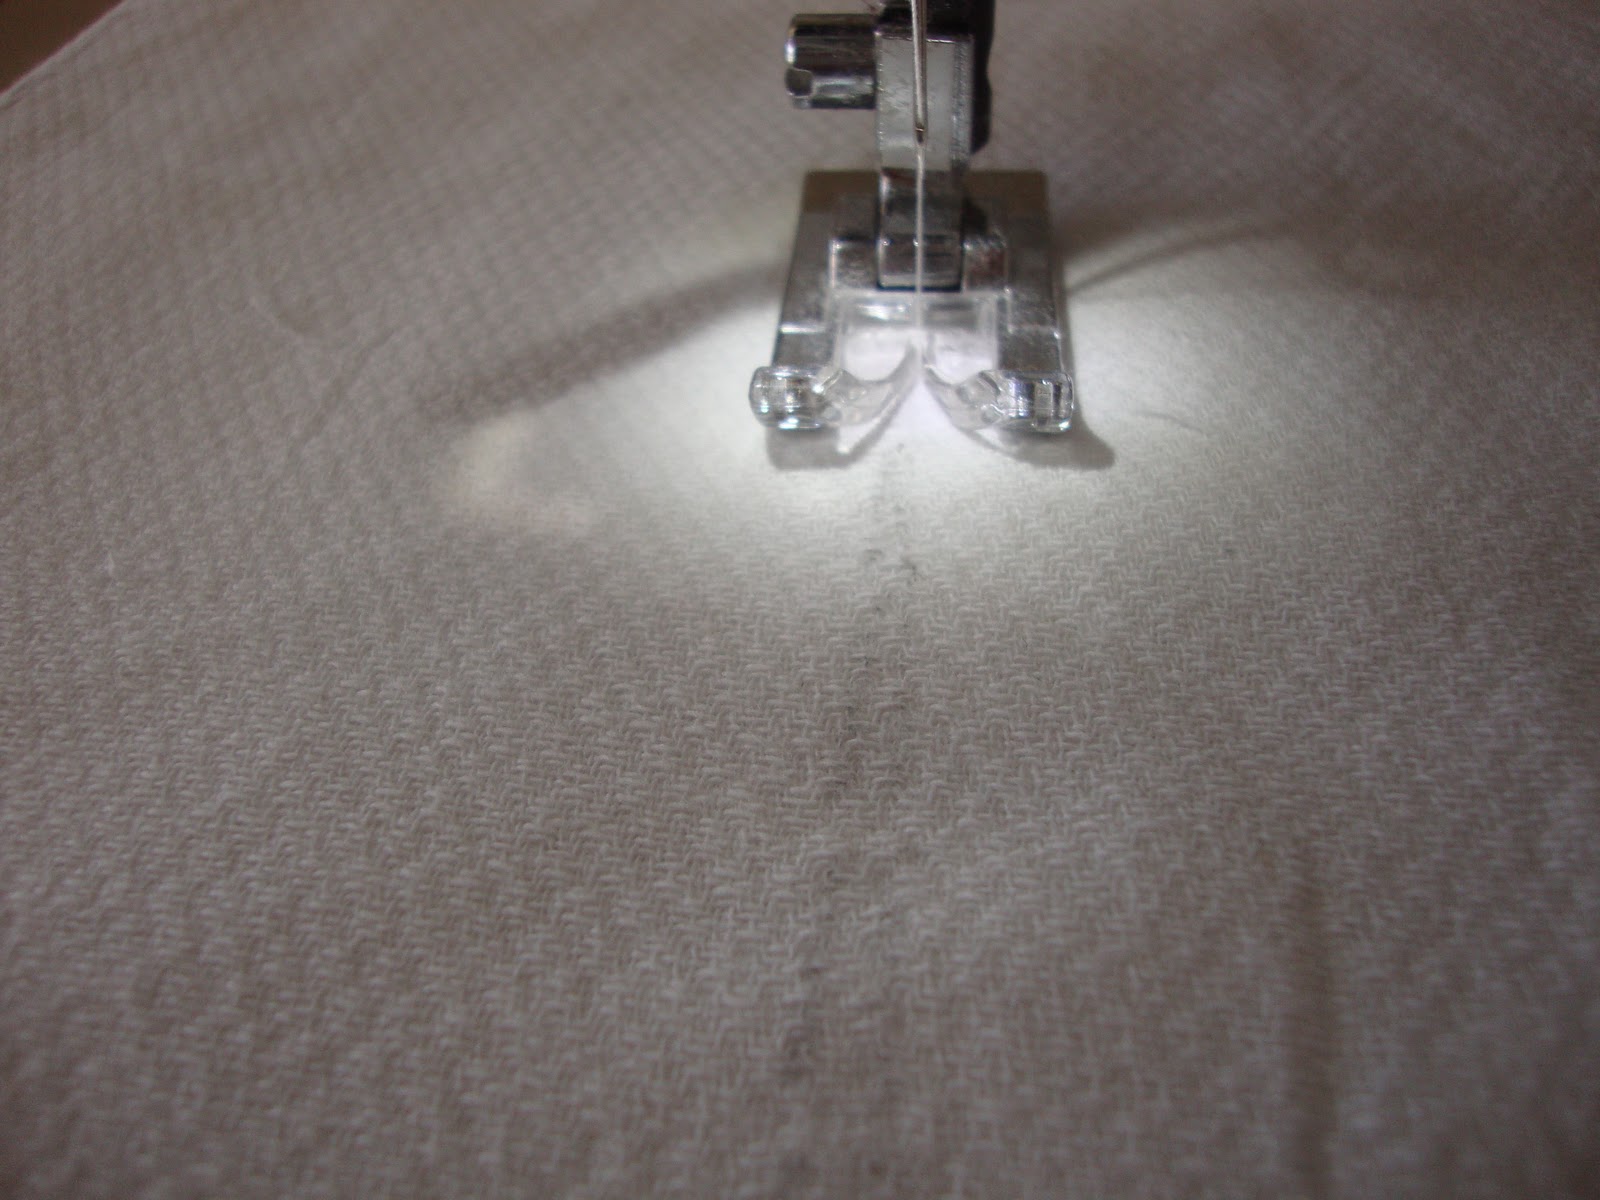
Once you have your lines drawn, take the fabric over to the sewing machine. You are going to sew down the center of these two lines to make seams.

Once you are finished sewing the seams, now measure the width and the length of the center of  the burp cloth.  Cut out a piece of the flannel fabric to fit in the middle section. Note:  I cut it so that I had left 1/8 short on each side to make room for the ribbon but made sure there would be fabric under the ribbon.

Place the strip of fabric in the center.
Cut 2 strips of ribbon 16 " long , or how ever long your burp cloth is.
Pin the ribbon and the flannel to the burp cloth together.
 
Sew down both sides of the ribbon making sure you are sewing the flannel strip under the ribbon and securing it to the diaper cloth.


Once you have it all sewn together you need to make the edges so they do not keep unraveling every time you wash the burp clothes. There are two ways to do this.  The first one is to sew along the edges of the burp cloth in a zig zag pattern.  The second way, the way I chose to do it, is to take some pinking shears and cut the edges.  The best way to do this is to lay the fabric down and cut along the edge as the fabric is on a surface.  


That is it, you have completed your first burp cloth. I made a total of 4 and I am pretty happy with them I plan on making 20 for our baby. Ill will update you with pics when I get to them.


Thursday, October 6, 2011

Finished Maternity Top

This is just a quick update on my Maternity Top that I was knitting. I finally finished it this past Friday September 30th. I am quite please with how it turned out, but I must say its huge on me. I think it will fit in the 3rd Trimester quite comfortably. Right now I can wear tank tops and short sleeves under it, when it gets colder I will wear long sleeves under it. This is probably one of the harder patterns I have knitted thus far so I am pretty happy with it.


As you can see its quite big around the armpit area.  Its was the correct size so I think it just that way, since I don't normally wear this size.  I usually wear a medium top, unless cut too small then I wear a large. I think the XL was a bit big for me. I made it this was so it would get around my baby bump.  I think when my belly grows and it will stretch and it will fit better.