Sunday, October 16, 2011

Sewing: How to make burp clothes

Well I finally pulled out and dusted off my sewing machine.   I wanted to make burp clothes as a gift and to experiment.  I plan on making some for my little one.  Well first, I have to say  I bought my fabric, birdseye 27" wide diaper cloth white, at full price from Joanns.  After paying this price and looking at gerber's birdseye diaper cloth, I learned its cost more to buy the fabric. The only way its cheaper or comparable  is if you get the fabric for 50% off or you can buy it online for pretty cheap. So my first suggestion is to do some research and find your fabric for $3.00 or less a yard.  You can find it for this cheap check out fabric.com.  So for this project you will need:
1. Diaper clothe white fabric ( 1 yard makes 2 burp clothes)
2. 1/4 of a yard of flannel fabric (or your choice of fabric ) for the center per burp cloth.  So I got 3 different colors in 1/4 yard each.
3. 1/4 " wide ribbon. I got 3 different ribbons per burp cloth
4. pinking shears
5. straight pins
6. white yarn
7. fabric pencils


The first step is to wash, dry, and Iron all your fabrics.  Once you have your fabrics washed you want to cut 3 squares per burp cloth. a yard is 36" so you should get 3 12" wide burp clothes. I cut mine 12x16.  Clean up edges and make sure they are the same size.
 

Once they are cut and even, place each one on top of the other and pin all three together.

 Once you have it pinned now its time to use the sewing machine.  Sew 1/4 " around the edge of all four corners of the burp cloth like so!
 
Now that you have your border finished, you want to make 2 seams in the middle like the diaper clothes you buy in the store. To do this, you measure the whole width of the burp cloth and divide it by 3.   You want to take your ruler and mark your fabric, with your fabric pencil, on the 1/3 mark, and the 2/3 mark. Now you have 3 even sections on your fabric.  Once you have them marked draw your two lines.
 
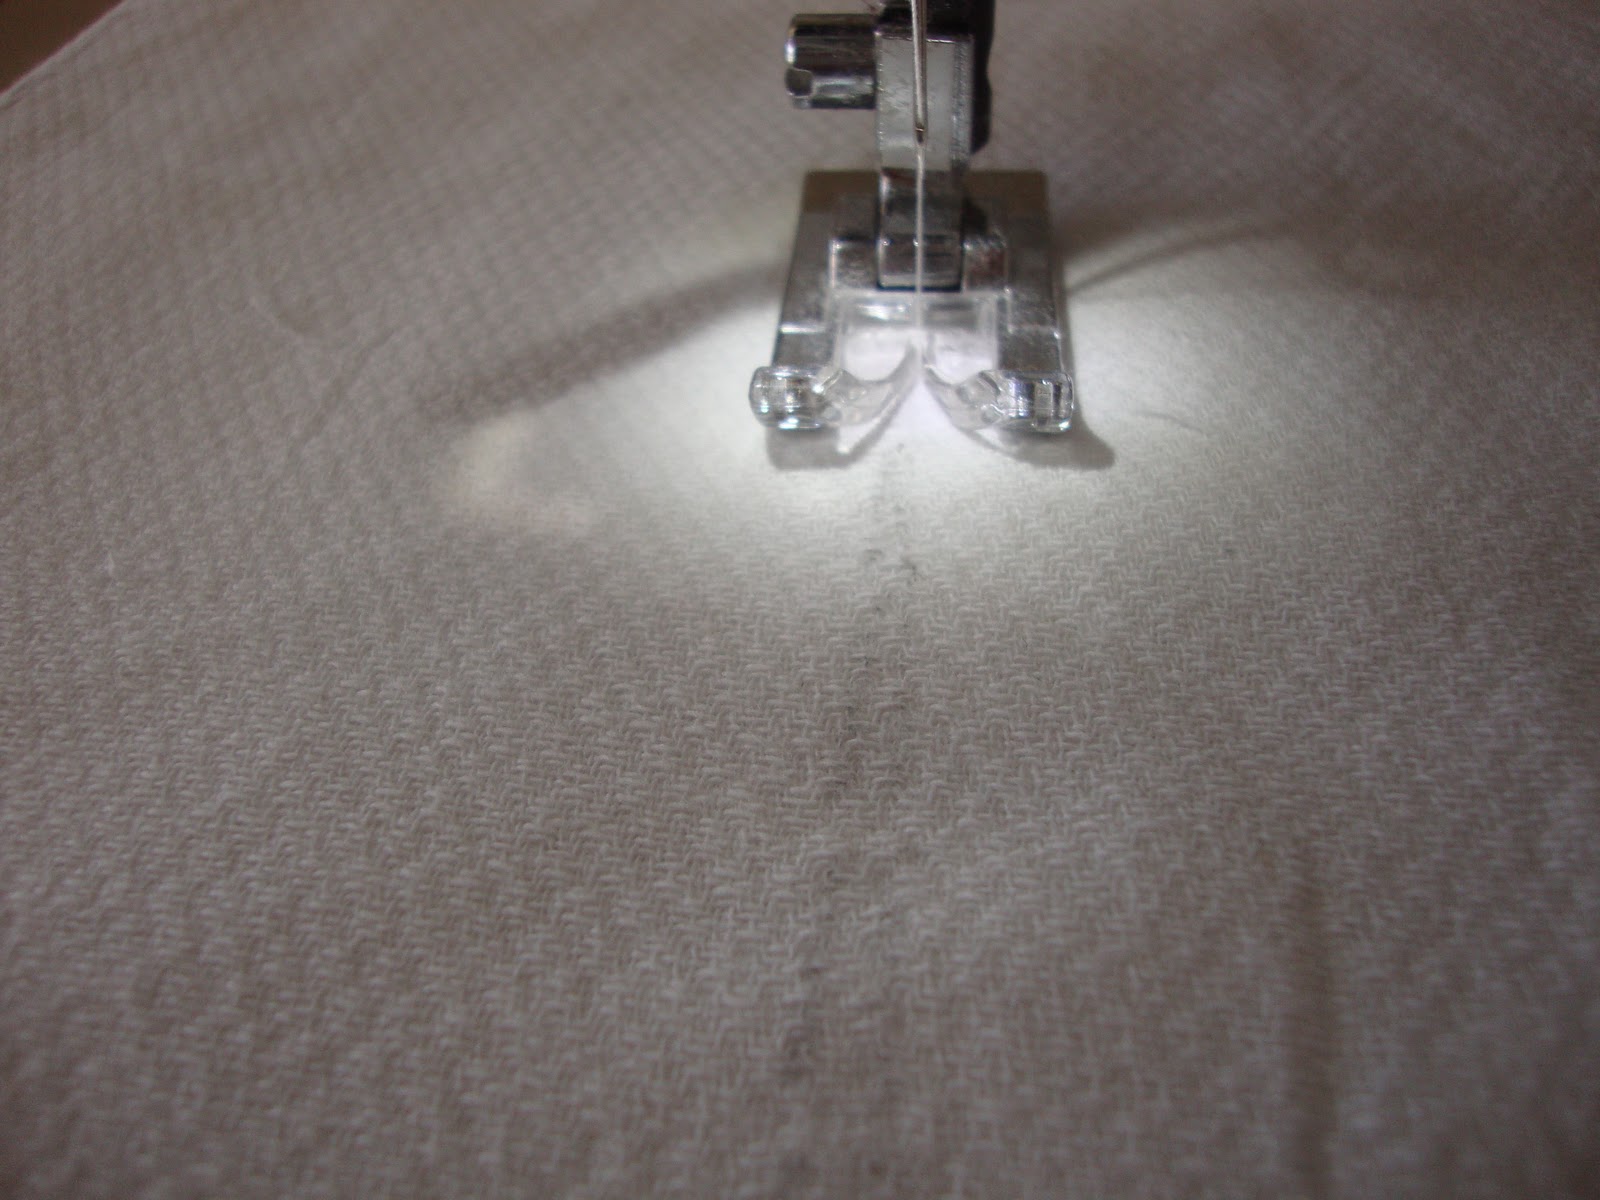
Once you have your lines drawn, take the fabric over to the sewing machine. You are going to sew down the center of these two lines to make seams.

Once you are finished sewing the seams, now measure the width and the length of the center of  the burp cloth.  Cut out a piece of the flannel fabric to fit in the middle section. Note:  I cut it so that I had left 1/8 short on each side to make room for the ribbon but made sure there would be fabric under the ribbon.

Place the strip of fabric in the center.
Cut 2 strips of ribbon 16 " long , or how ever long your burp cloth is.
Pin the ribbon and the flannel to the burp cloth together.
 
Sew down both sides of the ribbon making sure you are sewing the flannel strip under the ribbon and securing it to the diaper cloth.


Once you have it all sewn together you need to make the edges so they do not keep unraveling every time you wash the burp clothes. There are two ways to do this.  The first one is to sew along the edges of the burp cloth in a zig zag pattern.  The second way, the way I chose to do it, is to take some pinking shears and cut the edges.  The best way to do this is to lay the fabric down and cut along the edge as the fabric is on a surface.  


That is it, you have completed your first burp cloth. I made a total of 4 and I am pretty happy with them I plan on making 20 for our baby. Ill will update you with pics when I get to them.


Thursday, October 6, 2011

Finished Maternity Top

This is just a quick update on my Maternity Top that I was knitting. I finally finished it this past Friday September 30th. I am quite please with how it turned out, but I must say its huge on me. I think it will fit in the 3rd Trimester quite comfortably. Right now I can wear tank tops and short sleeves under it, when it gets colder I will wear long sleeves under it. This is probably one of the harder patterns I have knitted thus far so I am pretty happy with it.


As you can see its quite big around the armpit area.  Its was the correct size so I think it just that way, since I don't normally wear this size.  I usually wear a medium top, unless cut too small then I wear a large. I think the XL was a bit big for me. I made it this was so it would get around my baby bump.  I think when my belly grows and it will stretch and it will fit better.

Sunday, October 2, 2011

How to organize your knitting stuff

Well I promise a year ago that I would do a post on how to organize your knitting and a year later here it finally is.  I will first start off by saying my way of organizing is not the cheapest way but its not the most expensive either. The reason it took me a year to finally write this post , is because it took me a year to finally purchase all the items I wanted in order to finish this project.  There are many creative and inexpensive ways to organize your knitting, however, my knitting is in our study and out in the open.  So I wanted to do this in a very appealing way t and  would not be an eye sore.  You will need the following items to complete the project.
  1. Shelving unit 
  2. Canvas drawers
  3. Vase
  4. 3 ring binder
  5. Needle pages
  6. Pencil case
  7. 3 x 4 resealable bags
  8. Magazine storage bin
I will tell you where I got my items, the names, and what I paid for them.We will start with organizing your yarn.  To begin, I did some research and decided to buy a 6 cube system from target made by closet maid.   I happen to catch a sale so I was able to get it for $39.99 .


At this same I also bought 3 closet maid canvas drawers for $6.99 a piece.   Once I got the shelving unit put together I then put my yarn in each drawer.  I have to say they are not as organized as I want to get, but right now I have so much random yarn its hard for me to organize the yarn. The first drawers is scrap yarn, yarn that I have used but never used it  up. I am hoping to knit some charity projects with this yarn and get this bin empty.

The second drawer, is yarn that I will use for future project.
The third drawer is my knit picks yarn.  Eventually I want to organize the drawers by yarn weight.

Now that your yarn is organized and put on the shelves its time to organize your needles, notions, and books.  Using all these helpful products that are listed above.

First , I bought a magazine storage bin(from target fro $4.99) to place all my books and magazines in.  I placed this on top of the book shelf.


Now for the tricky part the needles and notions.  I will start with the easy part.  I found if you find a nice vase that you have around the house and place your straight needles in them, it looks like a needle arrangement. I took a rubber band and wrapped it around the points of the matching needles so they would stay together and I placed the vase on top of the shelving unit.

Now for the fun part the circular needles and the DPN needles.  In the list I said to buy a 3 ring binder.   I wanted one that would hold a lot and after much research I got a cropper hopper craft binder.  You can get these on line any where ( amazon, walmart, joanns). I got my from Walmart and had it shipped to myself for a total of $15.99.  I love it.   Then I went on line an purchased ( really mom and dad Sours gave them to me for Christmas) some needle pages.  These pages are made for circular needles and DPN needles.  Here are the links Circular http://www.yarnmarket.com/yarn/Knit_One_Crochet_Too-Needle_Notebook_Pockets_circular-3428.html
DPN needles http://www.yarnmarket.com/yarn/Knit_One_Crochet_Too-Needle_Notebook_Pockets_II_double_points-3971.html
The Circular needle pocket comes with 5 pages for $10.95 and the DPN pockets are 3 pages for $8.95. I found that so far one order of the DPN pockets are all I need.  I will need to purchase more of the circular pocket pages.
So how I arranged my circular needles is sizes 1-10 by 16"-36".  You can mark on the page what size needle and how long it is.   Since I don't have all the needle sizes there are gaps in my pages, but some day it will be complete.  Below is a picture of what each page looks like and how I marked my page.

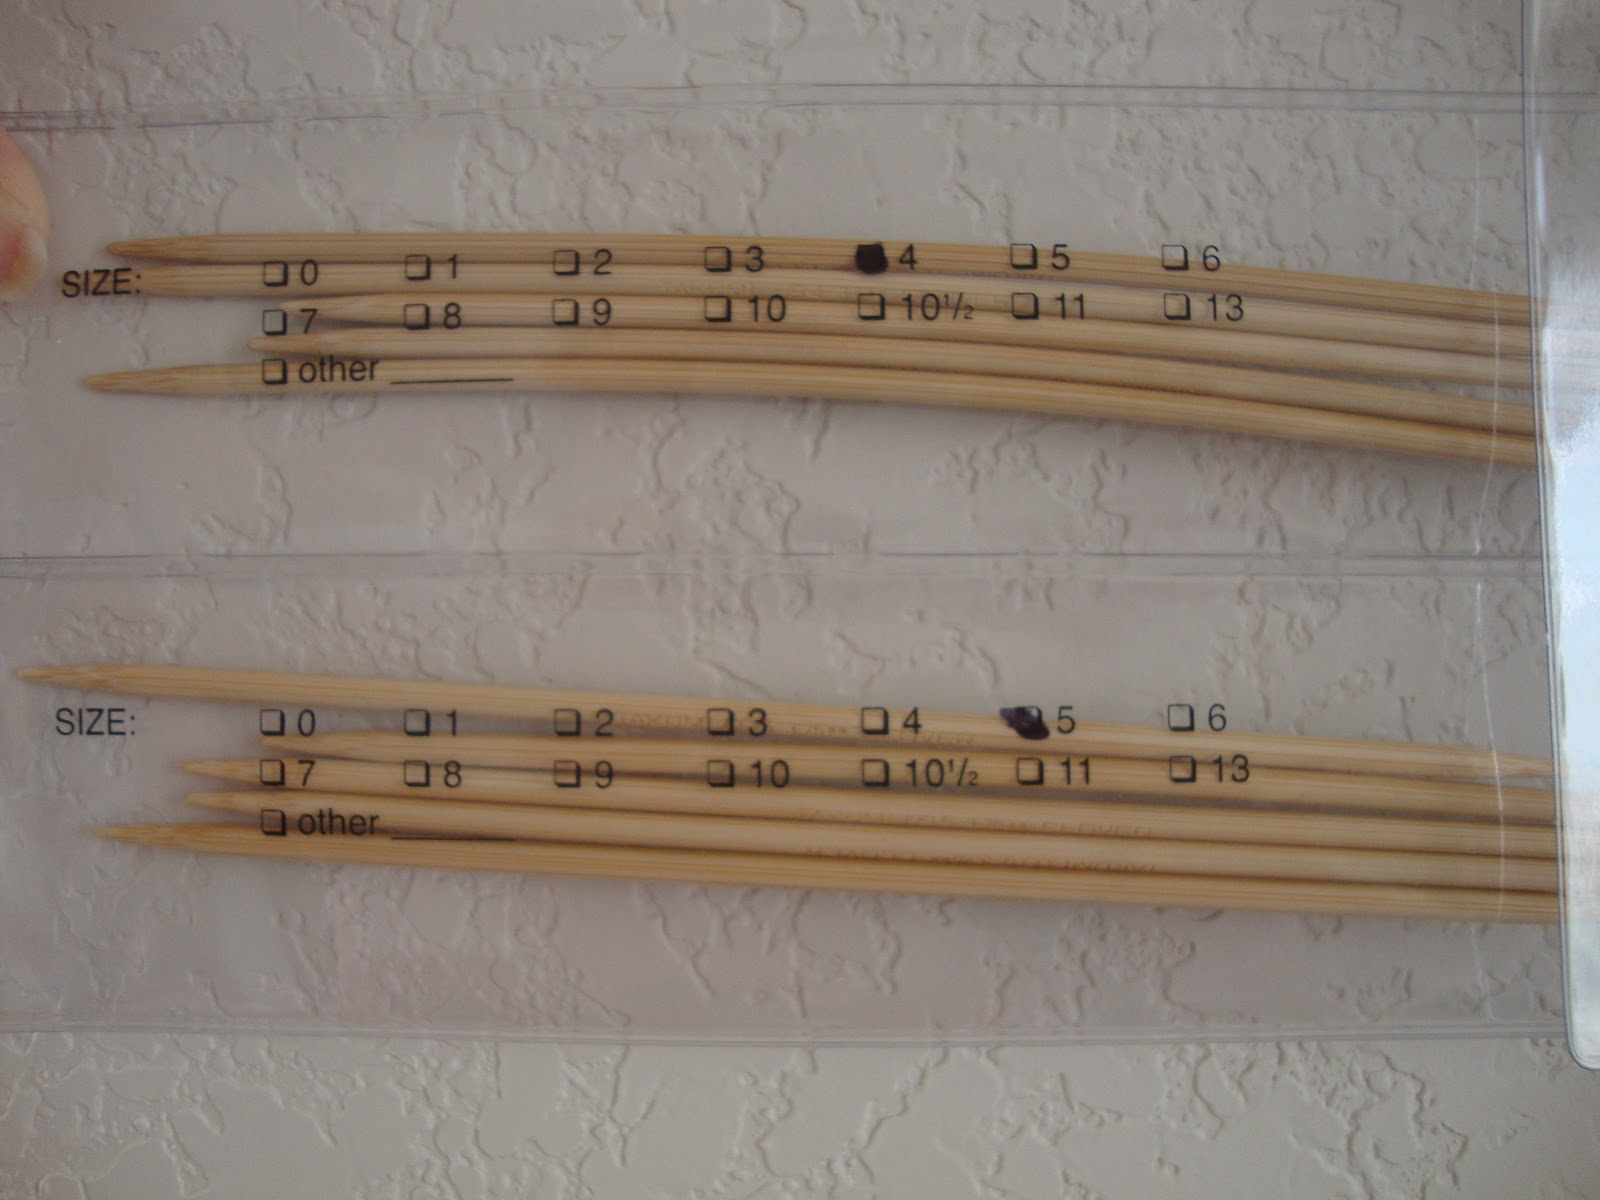
I put these in the binder in order by number and length. So my first page is size 5 needle 16".  My last page is 7 needle 29".  When my collection is complete I will divide each length with dividers so I can find my 24" needles when I need those and my 32" needles and so on.  Now with the DPN they are organized the same way, however, I don't buy my DPN by length. So I just organize mine by size.  so my first size is 1 and my last size is 8. I don't have all the larger needles at this time.  This page holds 5 sets of needles. Below is a picture of the page and how I arranged and marked mine.  I placed these pages behind the circular needles and one day will have a divider, dividing the circular needles from the DPN needles.
 
 
Finally, organizing all your little notions like counters, pins, scissors, stitch holders, buttons etc.  This is where you will use your resealable bags and your pencil case. I placed all my little notions in my baggies and put them in the pencil case.


Then I put the pencil case in the 3 ring binder.


The binder I bought was too large to fit my shelf so I just placed it right next to cubes on the floor like so.

 There you have it all your needles, notions, yarn, and books organized.  Below is a picture of everything all organized and put together.


The 2 navy drawers are my fabric and sewing supplies.  I didn't get a 3rd navy bag as I need room for my blocking pads.  So what do I do with the projects I am working on?  My sister made me this beautiful basket for my knitting. So I place the yarn for my next projects and my current knitting in the basket.  Currently, I don't have any projects going on but I will start one tomorrow.  The yarn in there is for my next 5 projects!

I am pretty satisfied with the out come and hope to continue to organize as I go.

Friday, September 23, 2011

Knits for baby

Yes, another knit post!  I promise I will post something about sewing in the upcoming weeks.   I hope to do a quilt update/post after next weekend. I should have some time to work on it.  So its knits for now!  With all the sinus headaches I have been having this week, I took a break from my sweater and decided to do some quick knits for the baby.  I found an adorable frog hat with mitts on ravelry and decided I would give it a try!   I am pretty happy with the results and we plan on bringing baby home in the hat and mitts.  I still have socks I want to make to go along with the ensemble.


The one thing I have to state , as others have stated on this site, there are no instructions for the eyes which makes it difficult. I will tell you how I sewed my eyes on and you can see if its helpful or not. For me I found the whip stitch took me a try or two to get it down.  I found a very helpful video which shows the best way to do it.  This stitch is used to sew the white of the eye to the green of the eye.  Here is the link to the Whip stitch   http://www.ehow.com/video_4940669_sew-whip-stitch.html

So once I sewed the white of the eye to the green of they eye, I then made a seem from the white of the eye to the bind off stitches. This made a tube.  At this point I stuffed the eye. I placed the open end of the tube 8-10 rows down from the top and began sewing.  I tied a knot in the end of my yarn and went up through the hat to the bind off stitches  I did this 2-3 times just to get the eye attached. I will tell you, starting the eye is really hard and a third hand could have helped.  Once I got some of the eye attached I used the mattress stitch to go around the out line of the eye all except the front.  Once I got to the front I then pushed the white of the eye back to where I liked the look best.  This makes the eye more round.  Once I found the desired location of the eye, I then attached the front by sewing from inside the hat through the green line at the bottom of the eye. Just sewing up an down to attach.  Keep sewing the mattress stitch on the other side and your eye is attached. Just push the rest of the yarn inside and weave in ends.  I didn't think to take any pictures, but I will try to make some time with leftover yarn to post pictures so you can see what I did.  I hope many of you found this helpful!!!


Wednesday, September 14, 2011

WIP and finished projects


Well, I know its been a while since I have posted on here.  I got really busy with my grandfather and then he passed away. After that I found no motivation and there were lots of  doctor visits, procedures, and so forth. However,  I have been some what busy knitting.  As for sewing and quilting, look for future projects.  I haven't worked on my quilt since February but plan on finishing it , in the upcoming posts. So for now, its just knitting updates.  Well, my grandfather fell ill and I was traveling back and forth a lot so I decided to start a new project.  I knitted a baby sweater for a friend of mine that  I met on baby center.  She had her baby in April. So I made her a baby sweater one like I had made Jack at Christmas.  Here is the picture below.

 I am pretty happy with it, but  will not use bernat baby again for baby sweaters.  I had to redo the neck on this sweater 3 time just to make sure the baby could get its head through.  Its a very tight yarn.    After this I took a long break from crafts and did some reading.  Then in June, I picked up the sweater I was knitting ( pictured in the previous post) for a friend at work. If you don't remember, I was making this pattern up as I went a long.  I have to say I like it but  I have a few  adjustments to the pattern before I love it.


Since then I decided to try something for the house. I bought yarn back in February for this project but never motivated to actually do it. I wanted a bathroom mat for our guest bathroom on our main floor. Its a half bath and I felt it needed a little touch!  I couldn't find any knitting patterns that  I loved, however fell in love with crochet patterns. Yes,  I do plan or learning to crochet some day, but in the mean time I just wanted to knit a bath mat. So after finding one particular crochet rug , which inspired me, I did some research. I went through my knitter's bible and looked at different types of stitches to find one that matched.  and then I did some math and gauging,  to figure out what size I would need.  Once I had the figured out I created the pattern in my head and this is what I ended up with.

For the most part I am happy with this bath mat. I could have done without so many stitches on the sides. If I do another one I have written some notes to myself so  I know how to adjust. Well as some of you know, I found out in June I am pregnant!! I am so excited!! So my focus switched to baby stuff.  Thus far I have only one complete project for the baby and I am currently working on a maternity top for myself.  I have knitted a pumpkin hat for the baby, which  I am in love with.


For myself  I am using a drops pattern to knit the top with a few alterations. I have added to the length so it will cover my bump for the most part.  I also decided on extra large in hopes it would fit me for a while. I am 18 weeks now and hope to finish this weekend, so I can actually wear it.


I really like how it is turning out so far.  It does have a few small mistakes, but since its for me and you have to have a good eye I decided not to worry about it and continue.  I will update you with a pic of me wearing it shortly!!  My next project is a baby item which I should be starting next week. I will update this at least once a week.  Maybe 2 times until  I get multiple projects going.  I will also get to that organizing your knitting post  I promised ages ago. Until next time!!!


Monday, February 14, 2011

Who is running towards God?

Yesterday’s message in church really spoke to me and my heart. The message was one that sums up many of the little messages I have been receiving from God and I want to share this message with you all because its one I think we all need to hear and to be reminded of everyday! Right now we are doing a series in church called “Who is running”. The series is about Jonah and his life and experiences. The message yesterday was about Christians and how we are to help people run to God. Makes sense and well we all know this of course, but do we really practice it. I am not talking about going up to people and preaching about God. What I am talking about is simple and something that is instilled in our hearts and minds everyday of our Christian lives. To show God’s love. Now I know, because I am just as guilty, that we all are probably thinking “I show God’s love every day!” Think about it really hard do we really? I say this because honestly as most of you know I have been through a lot the past 2 years and I still continue to struggle through life. I know for me personally, my life changed drastically when my mom died December 24th 2009. Growing up I was raise in a Christian life style. I went to a Baptist school in my early years, we went to church every Sunday , and you know the drill. I loved everyone no matter what. I was to young to understand and to young to judge. If we look at our child like behaviors honestly, I think we could learn a lot, since we were too ignorant to know different when we were that young. Sorry for rambling but stay with me it gets really good. Any way, I grew up went to college and did what most people do in life. As I moved on with life I strayed from God. I still loved him, prayed, needed him, went to church when I could, and did what I though I was suppose to do as I went on with my life. As my life got busy and consumed with worldly things I never once stopped and noticed that I was losing the most important love there is to lose. Not that I didn’t love people but that I lost loving other people other than the ones I had already loved. I learned this about two hours before my mom died. Some of you know this already, but this may come to a shock to those who have not heard it yet. I want to share this with everyone. If I didn’t believe in God before, which I always have, I sure do believe in him now. Two hours before my mom died God was in the room with her and I . Now I know there are cynics out there but you are not going to change my mind or heart on that. In the midst of all that was horrible and all the sadness and misery I was experiencing, I began to feel strange but it a good way. It took me a minute to realize what I was feeling but I felt God’s love and I have never experienced anything like that before in my life. My heart was so full of love I felt like it was going to burst out of my body. It was like that a steady two hours before she died and when he took her he went to. You are probably wondering by now how this has to do with yesterday’s lesson and why I am rambling so much. I do have a point a very big and important one, for anyone reading this. Since then I have been in search for that kind of love and how I can experience it and share it with others. Well its really simple. Show love to others even those who are drug dealers, rapist, prostitutes, murders, terrorists, anyone!!!!! Easier said than done right? Not really. To be honest, for years it has put a bitter taste in my mouth of how much us Christians do judge people and quite honestly its really sad. I am just as guilty and I am in no way pointing fingers. There are many stories in the bible of how God helped, cared and loved the prostitutes and others who did not believe in him or follow his word or way of life. I take a step back and look at the world and honestly I shake my head in disappointment. How do we as Christians expect others to run to God when we are the ones turning them away from him. We are so judgmental it’s ridiculous. I am not trying to offend anyone but honestly do you pray for the guy who just raped or murdered someone? Do you stop to tell the hooker on the street that God loves her and stop and help or pray for her? Do you stop to feed or give money to the homeless or do you walk buy with a bitter thought like I bet they will just buy booze? There are many more things we do that are not godly. We are the ones people are watching because we are Christians. How can others want to run to God when we turn our noses up? That just shows others that God must not be as loving as we say he is since our actions are suppose to be reflecting his love. Its very simple and very powerful, we are the ones in charge of showing people how God truly does love them. That is our responsibility as Christians and we are failing miserably!!! Ask yourself, were you one of the ones who was ranting and raging about the Mosque the Muslims wanted to put up right near where the terrorists destroyed the World Trade Center (I was)? Did you say or think any nasty thoughts about them? What would God have done in that situation? How do you think our reactions made others feel especially the ones trying to figure if they want to become one of God’s children or not? I think its time we all stopped judging others and take a look in the mirror and look at ourselves and how we need to change to lead others toward God and not away from him!!!! We wonder what is wrong with this world an honestly most Christians are just as guilty as the non Christians. I went off the point of the message some how, but the message wasn't just about showing his love. The message was more about doing it with love, not just because it looks good or that we have to do it, but because we love God and love showing others how much he loves us!!! It means more to God if you do it out of love than just to do it to be kind . It also comes across differently when its done out of love. God is coming one day do you want to know you did all that you could to show his love or do you want to hang your head in shame when you stand in front of him???? I know I need to change and that is going to start today!!!!!

Monday, January 31, 2011

WIP Update

I have been very busy trying to work on my projects. I admit I have not spent a lot of time on knitting since I was so excited to get my quilt going. However, I have started a knitting project. I am writing my own baby sweater pattern. I am not really writing it from scratch but I have written most of it. I am following some patterns to help guide me to get the correct sizing. Since I am writing most of the pattern myself its taking a little longer and I don't expect it to be perfect. I don't have a baby in mind for it at the current time.
Its hard to see what its going to look like right now. Its currently looking like a mess, but I promise you that in a few days it will look much better. In quilting news I have finished the top part of the quilt. Now that means I just have the squares sewn together. I still have to finish the back, make a quilt sandwich ( which means put the layers together and pin them) , than stipple the quilt together( meaning putting a meandering design on the quilt while sewing the layers together, and finally bind the quilt. In addition to this I am contemplating whether or not to add a border. To be honest, I think its safe to say its likely I will add a border to the top. I think it will help make the quilt pop and I have plenty of batting. I don't want to be wasteful!!! The first picture are the squares place out on the floor.

I was really happy with how I had things placed. Kevin decided he wanted a try and be creative and try his own designs. So he played for a while but he didn't like anything. We tried to put it back the same, but I wasn't happy with it. In the end it doesn't matter b/c when I was sewing I couldn't see the quilt since it was behind the table I was sewing on. So a few of the blocks got mixed up and it created its own design, which I am happy with. Before I show you the finished top of the quilt ( finished for now) I promised I would post a picture of the sewing machine my MIL gave me for my birthday last year.

Its a Singer Advance. So far I have not complaints and I love using it. So I took two different pictures of my quilt top and I am happy with it so far and very excited about it needless to say.


I am really looking forward to continue with this quilt. I will probably go this week and look at fabric choices for borders. Then on Saturday if I get time I would like to cut, iron, and sew on the borders, and iron, cut and sew the back. If I get time this weekend I would also like to cut and iron the binding pieces and sandwich the quilt. That's a lot and I have a busy weekend so I will be impressed if accomplish all of this.